Using the KookaBlocs Application
Launching KookaBlocs using a compatible browser on a personal computer will result in the display shown:
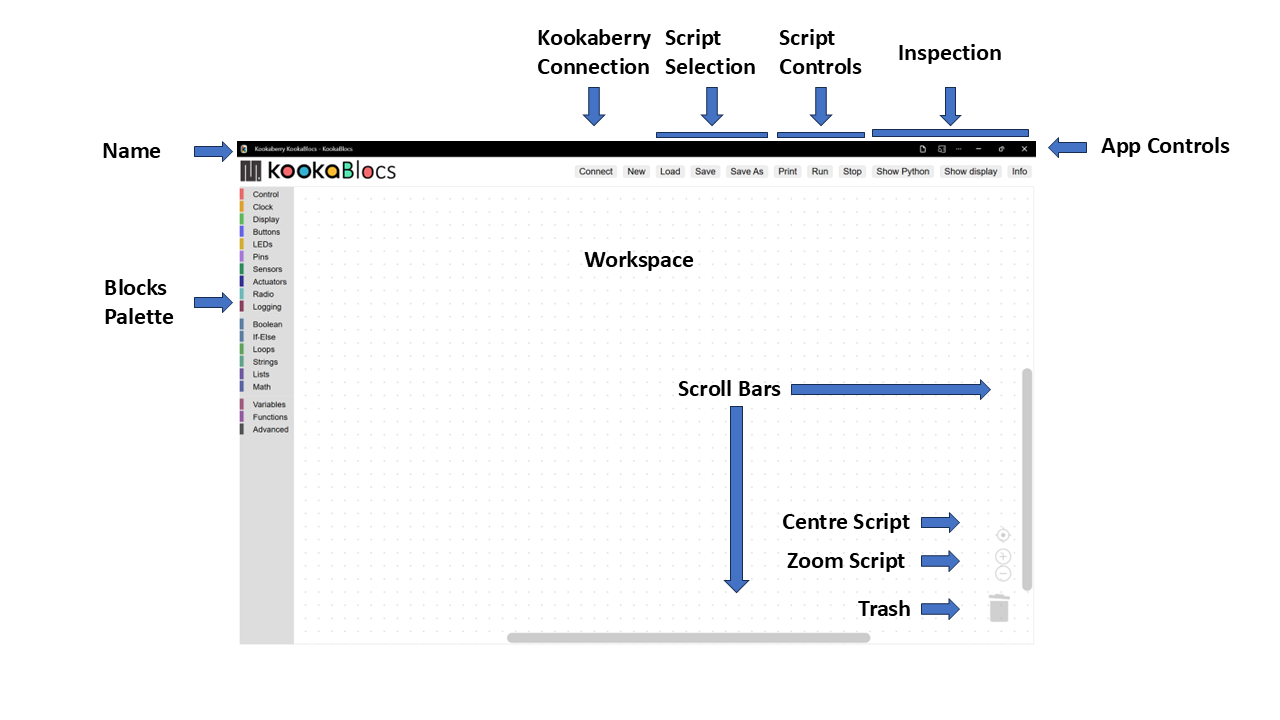
Fig. 3 This is the KookaBlocs display with the controls labelled.
The application window has numerous controls, as are described below:
Name
The PWA name KookaBlocs is shown at the top-left of the KookaBlocs window.
Note
The latest version of KookaBlocs can be conveniently updated from the website by refreshing the browser window using the key combination ctrl-R.
See the section Access and Install KookaBlocs for instructions on installing / uninstalling KookaBlocs on the various supported we browsers.
App Controls
These controls allow the KookaBlocs window to be minimises or maximised, and the KookBlocs application to be exited.
Depending on the web browser being used, there may be other controls for browser settings and functions. Fig. 4 shows the appearance of these controls for the Microsoft Edge browser.

Fig. 4 The KookaBlocs PWA Controls
Important
If the KookBlocs script has not been saved before attempting to exit KookaBlocs will exit anyway - it does not keep track of whether there are unsaved edits. Please be careful to regularly save your work!
Resizing of the window can also be accomplished by clicking on the window edges and dragging to resize.
Workspace
In the centre of the window is the KookaBlocs Workspace.
Blocks can be dragged into this space, repositioned, resized and deleted by using the mouse or track-pad or pointing device.
Blocks Palette
Down the left of the window is a vertically-oriented list of the KookaBlocs palette categories, shown in Fig. 5.
Click on any category to reveal the palette of blocks, click on and drag the desired block to the Workspace, position it and release to drop the block in place. The blocks palette will then automatically close.
To close the blocks palette without dragging a block into the Workspace, either click on the palette icon used to open the palette,
or press the Esc key.
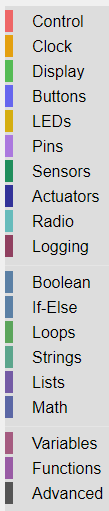
Fig. 5 The Blocks Palette showing the Block Categories
The block categories and blocks are fully described in the Part 2 - KookaBlocs Function Blocks Reference section.
Script Controls
At the top of the window, a set of buttons with which KookaBlocs scripts may be created, loaded, saved, run, stopped, and inspected. See Fig. 6.

Fig. 6 The KookaBlocs Script Control Buttons
The functions of each of the KookaBlocs Script Control buttons are:
- Connect
Clicking the Connect button opens a dialogue window which shows which serial USB ports are available and which is connected to a tethered Kookaberry. Plugging in a Kookaberry usually automatically assigns a USB serial port. Select the serial port by clicking on it and then click the Connect button.
See Fig. 7.
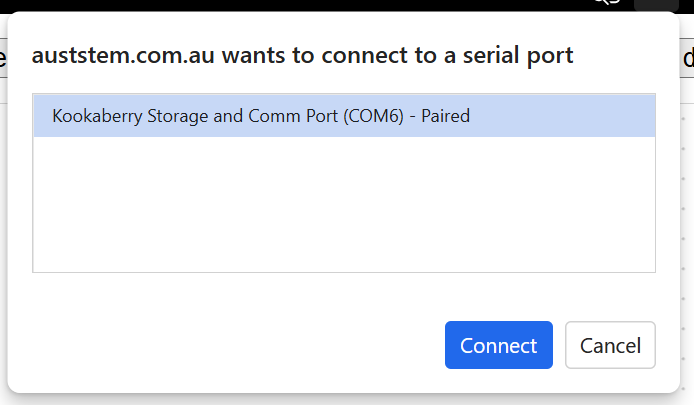
Fig. 7 The Serial dialogue showing the available and used USB serial connection ports
- New
Empties the Workspace to start a new script. If the current Workspace contains script blocks, then a prompt to confirm that all existing blocks be deleted is given as shown in Fig. 8.

Fig. 8 Prompt dialogue to clear the Workspace.
- Load
The Load button allows the user to select a KookaBlocs program to be loaded into the Workspace, appending it to the current script. This feature enables the assembling of scripts by combining separate script files.
Move the cursor to this button, press click on the mouse and the dialogue in Fig. 9 will be displayed.
KookaBlocs script files usually have a type designation of
.kby.py.Selecting a script and pressing the dialogue’s Open button, or alternatively double-clicking on a selected KookaBlocs script file will place a copy of that script in the KookaBlocs Workspace from where it can be modified, saved and run on the Kookaberry.
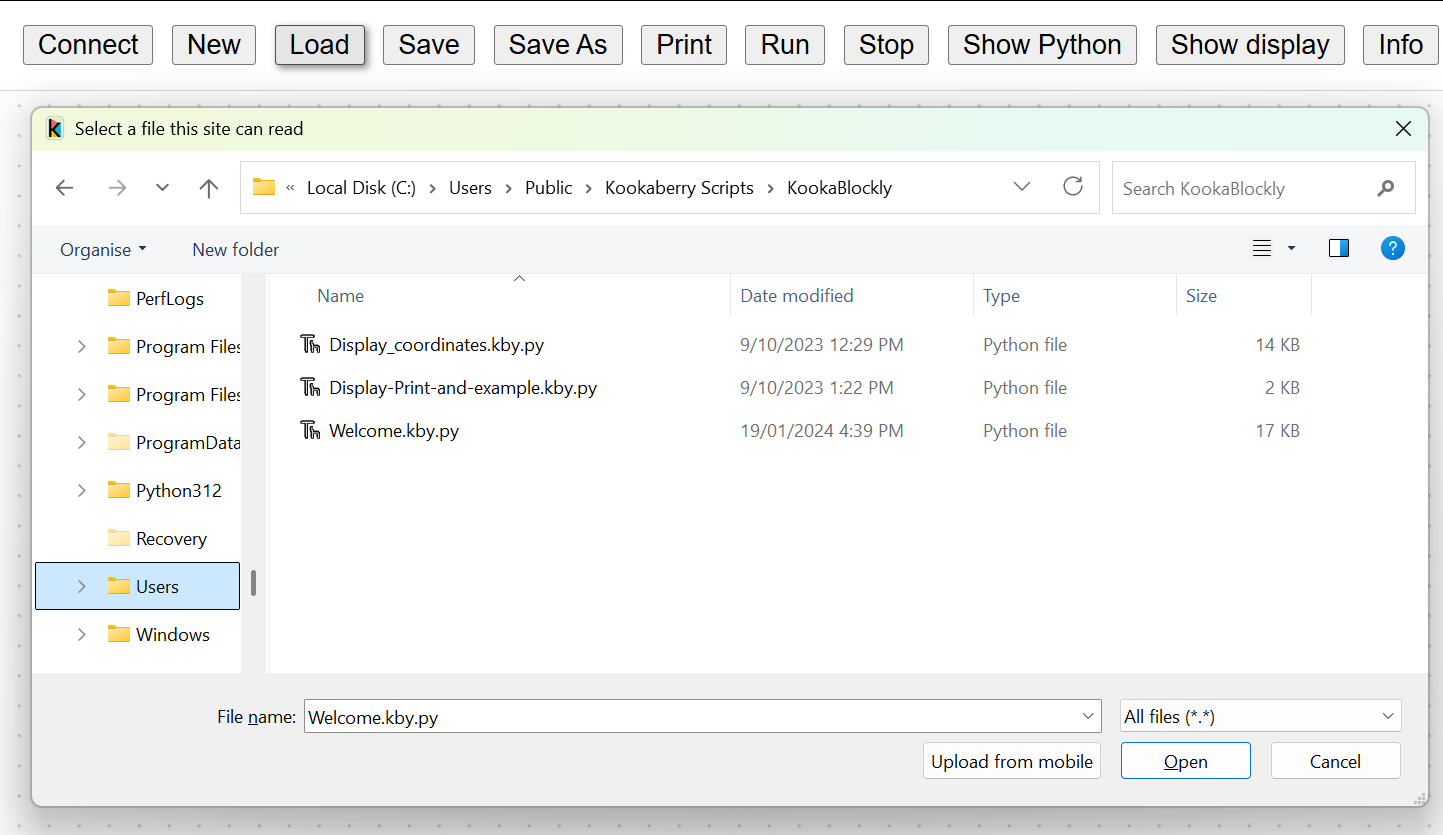
Fig. 9 KookaBlocs script load file selection dialogue.
Important
When assembling scripts from a number of files, the name of the last loaded file becomes the default for saving the script. If the script is intended to be saved into a new or differently-named file then use the Save As button to give a different name to the file.
- Save
Scripts that are loaded or created are regarded as newly-created scripts. This is because the Load action imports blocks onto the script Workspace adding to any blocks that are already present.
The Save button has two behaviours:
On the first click it will open the Save As file dialogue in which the location and name of the script file is entered. There are some confirmation dialogues that will then occur. These are more fully described in Save As description.
Thereafter, the currently open script will be save into the same file with a confirming dialogue. Click on the OK button to close the dialogue.
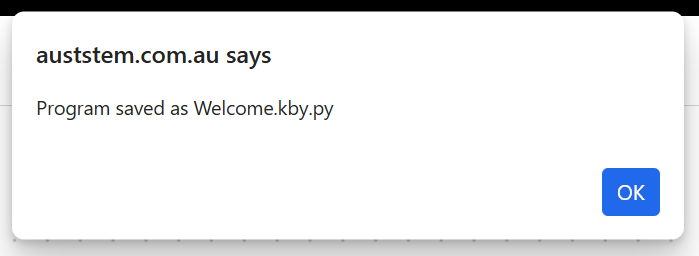
Fig. 10 KookaBlocs file saved confirmation dialogue.
- Save As
Saves the current script to a new file within a selected folder.
Move the cursor to this button, press click on the mouse and the file dialogue in Fig. 11 will be displayed:
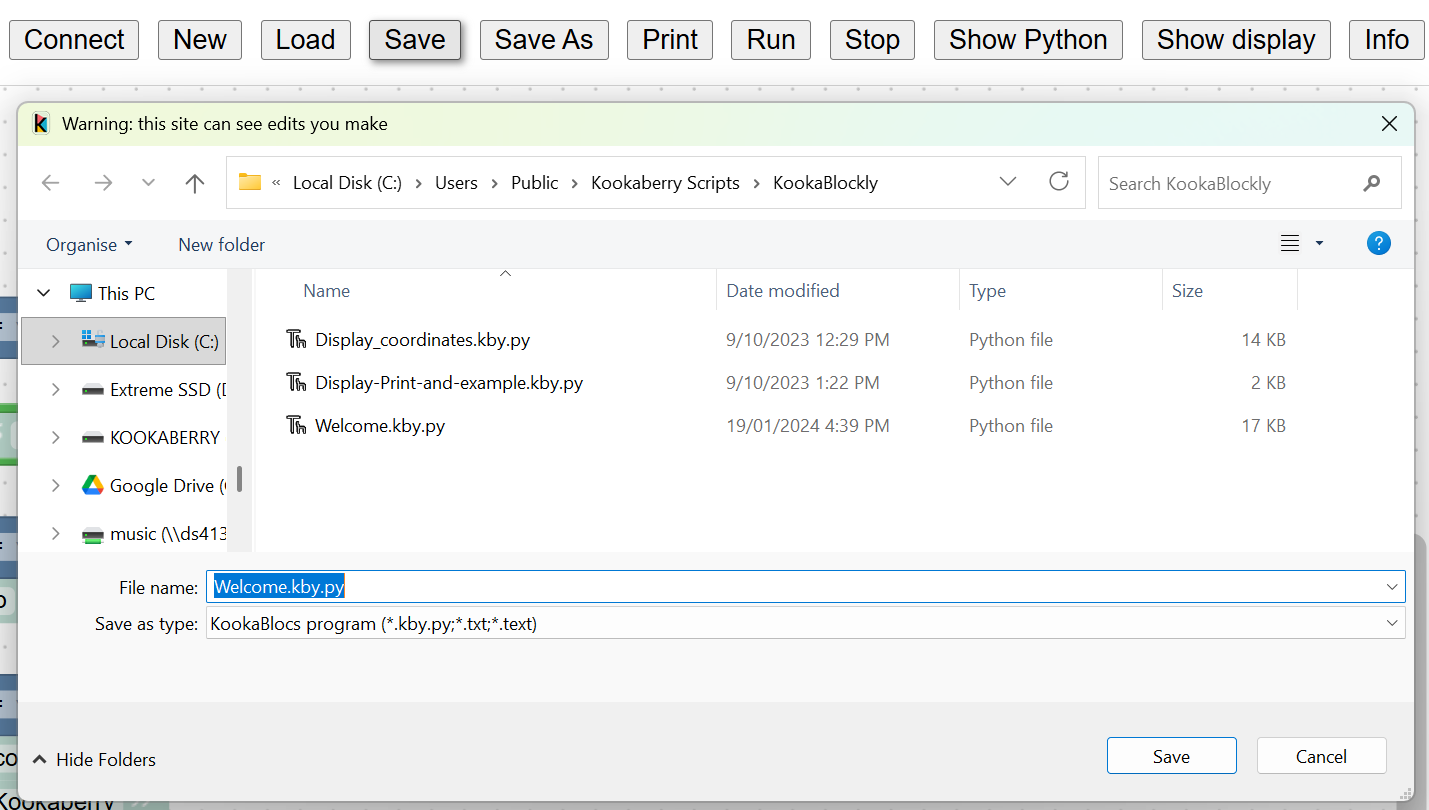
Fig. 11 KookaBlocs script Save / Save As file selection dialogue.
KookaBlocs script files have a type designation of .kby.py.
The default file name will be the name of the last file loaded, or if the script is newly created will be program.kby.py.
If required, edit the new file’s name and press the dialogue’s Save button to save the current script to the file.
If the file already exists, another dialogue shown in Fig. 12 will open asking to confirm whether the existing file is to be replaced. Press Yes to overwrite the file, or No to go back and change the intended file name. Please note that the appearance of this dialogue is dependent on the browser and operating system being used.
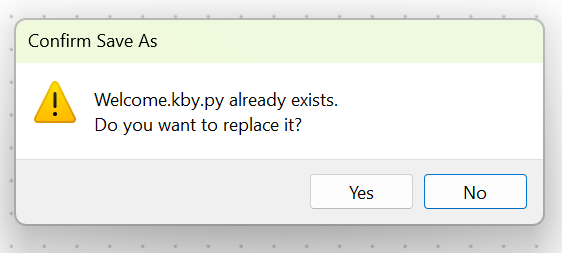
Fig. 12 KookaBlocs existing file name dialogue.
A second confirmation dialogue will then appear warning that a Python file can be dangerous and that it should only be saved if the KookaBlocs app is trusted. Confirm the save by clicking the Save button, or cancel the save by clicking Don’t Save. By cancelling, the script will not have been saved.
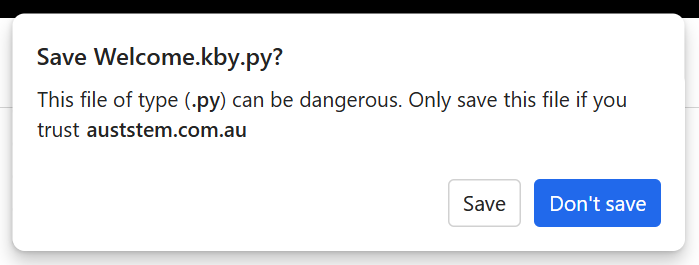
Fig. 13 KookaBlocs confirm file save dialogue.
Subsequent script edits in the current editing session can be saved into the already identified file by clicking on Save.
Prints the current view of the script in the Workspace, which may not be the whole script. Using the Zoom buttons and Scroll Bars, adjust the view of the script to suit the printout desired.
When the Print button is clicked, a Print dialogue (per the operating system convention) appears as in Fig. 14.
Choose the print options, which again are specific to the PC operating system and the installed printer, and then press the Print button to finalise printing options and then printing to the chosen printer.
Print options may include paper size, paper orientation, scaling, multi-page layout, printer selection and printer setup.

Fig. 14 KookaBlocs script Print dialogue.
- Run
Transfers the current script to the tethered Kookaberry and runs the script on the Kookaberry.
If a Kookaberry has not been already connected, the Connect dialogue will first appear.
- Stop
Terminates the script currently running on the tethered Kookaberry.
- Show Python
This button opens a window, shown in Fig. 15, in which the MicroPython script generated by the loaded KookaBlocs script is displayed.
The size of the window showing the script can be adjusted by clicking on and dragging the edges of the script window using the cursor.
The MicroPython is read-only and cannot be edited within this window.
This window presents a live view of the generated MicroPython script and it is possible to watch the MicroPython script being dynamically altered as the KookaBlocs script is being edited. You must position this window so it stays visible and not obscured by the KookaBlocs Workspace window to continue to observe the script changes.
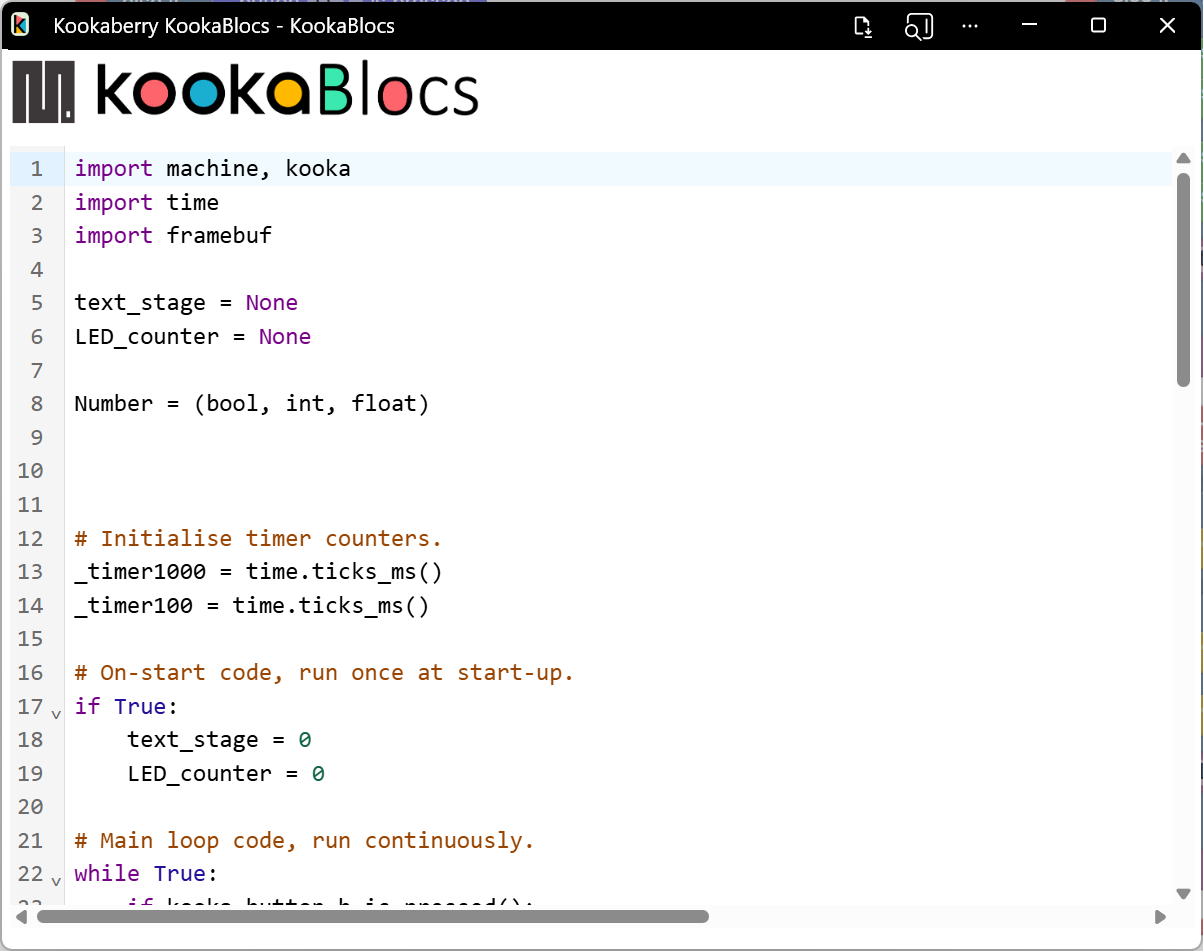
Fig. 15 KookaBlocs-generated MicroPython script window
- Show display
This button which will open a window, shown in Fig. 16, on which the attached Kookaberry is shown in virtual form. This includes the Kookaberry’s display, LEDs, buttons A to D and reset, and a button to start the Kookaberry’s internal menu.
The display will mirror the physical display on the Kookaberry.
The LEDs will change colour to mirror illumination of the real LEDs on the Kookaberry.
The buttons can be clicked using a mouse or track-pad on the PC, and will respond in the same way as the physical buttons on the Kookaberry.

Fig. 16 Virtual Kookaberry window
Note
It is also possible to load Kookaberry firmware onto standard Pi Pico microcomputer boards. These boards do not have the physical Kookaberry display, LEDs or buttons.
In this case the virtual Kookaberry window can be used to view and operate the Kookaberry’s user interface.
the “Kookaberry Reset” button replicates the hardware Reset button the Kookaberry
the “Kookaberry menu” button replaces the “hold down button B and press and release Reset” on a physical Kookaberry
the three LEDs replicate the three hardware LEDs on the Kookaberry
the four buttons A, B, C and D, replicate the physical buttons on the KookaBerry
- Info
The Info button will open a dialogue with three buttons:
About will show a short descriptive text About KookaBlocs
Disclaimer will show a short legal disclaimer and the terms of use for KookaBlocs.
Documentation will show the links to KookaBlocs and related documentation, including to this Reference Guide.
To close the dialogue, click on the small exit icon or click on the KookaBlocs Workspace.
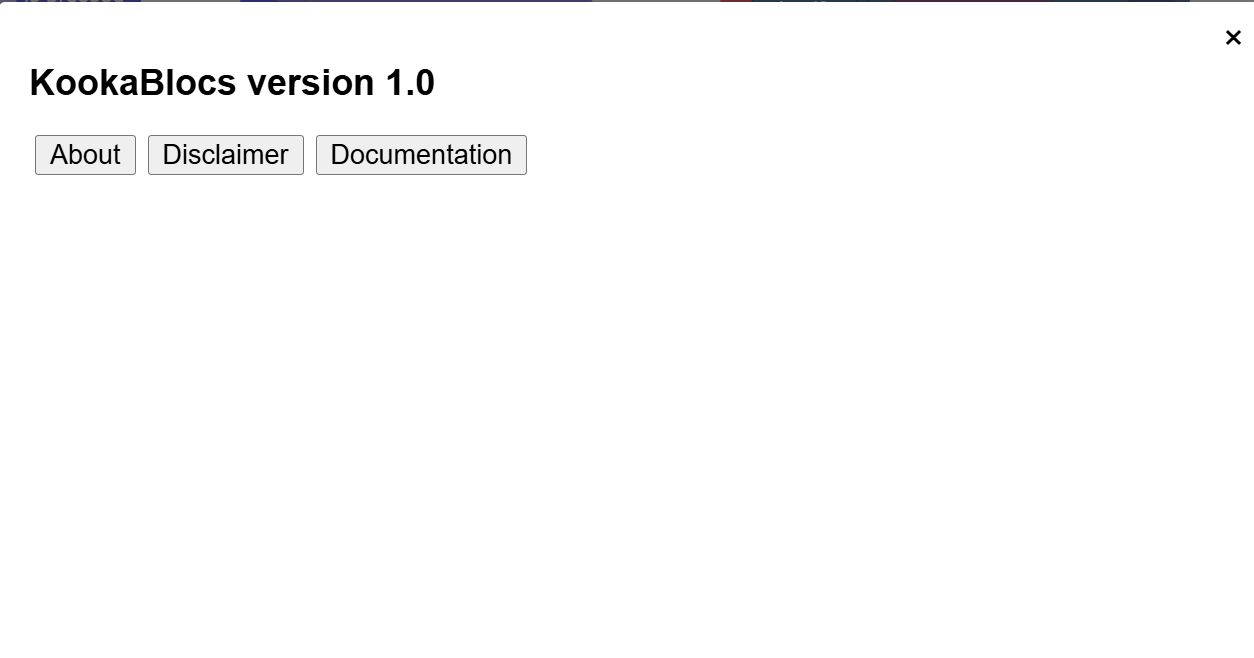
Fig. 17 KookaBlocs info window
Scroll Bars, Centre, Zoom and Trash
At the bottom-right of the window is a set of control icons as shown in Fig. 18.
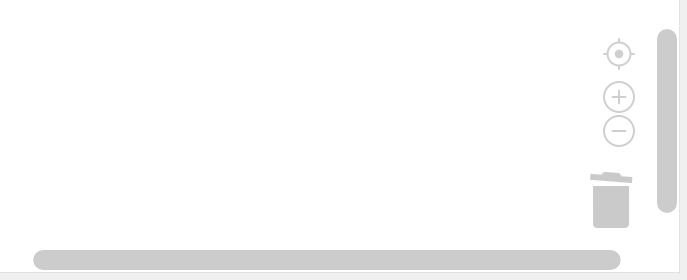
Fig. 18 Control icons at the bottom right of the KookaBlocs window
- Centre Script
for centering the KookaBlocs script. Clicking on the Centre icon will centre the script in the Workspace and zoom it to fit the KookaBlocs window.
- Zoom Script
for changing the visual size of the KookaBlocs script by zooming in and out.
Click on the + icon to zoom in and visually enlarge the script.
Click on the - icon to zoom out and visually shrink the script.
- Trash
For the duration of a script editing session, deleted blocks are placed in the Trash. It is possible to retrieve deleted blocks from the Trash, but only during the current editing session.
Click on the Trash icon to open it and show the blocks that have been deleted in the current editing session.
To retrieve a block from the Trash, click on the block and drag it back into the Workspace.
To close the Trash press the
Esckey.
When KookaBlocs is closed the contents of the Trash are deleted.
- Scrollbars
there are horizontal and vertical scrollbars for positioning the KookaBlocs Workspace within the window.
Click on a scrollbar and drag it up/down or left/right as appropriate to reposition the Workspace in the KookaBlocs window.